How to Move and Make the Camera Follow the Player in Unity 3D
Today, We are going to achieve a new thing in a brand new topic on my website, i.e. Game Development with Unity. I am something better than a beginner in this field but try to share everything I know here on devtejas and yet there is a lot more to come with new topics just keep an eye and subscribe to the notifications.
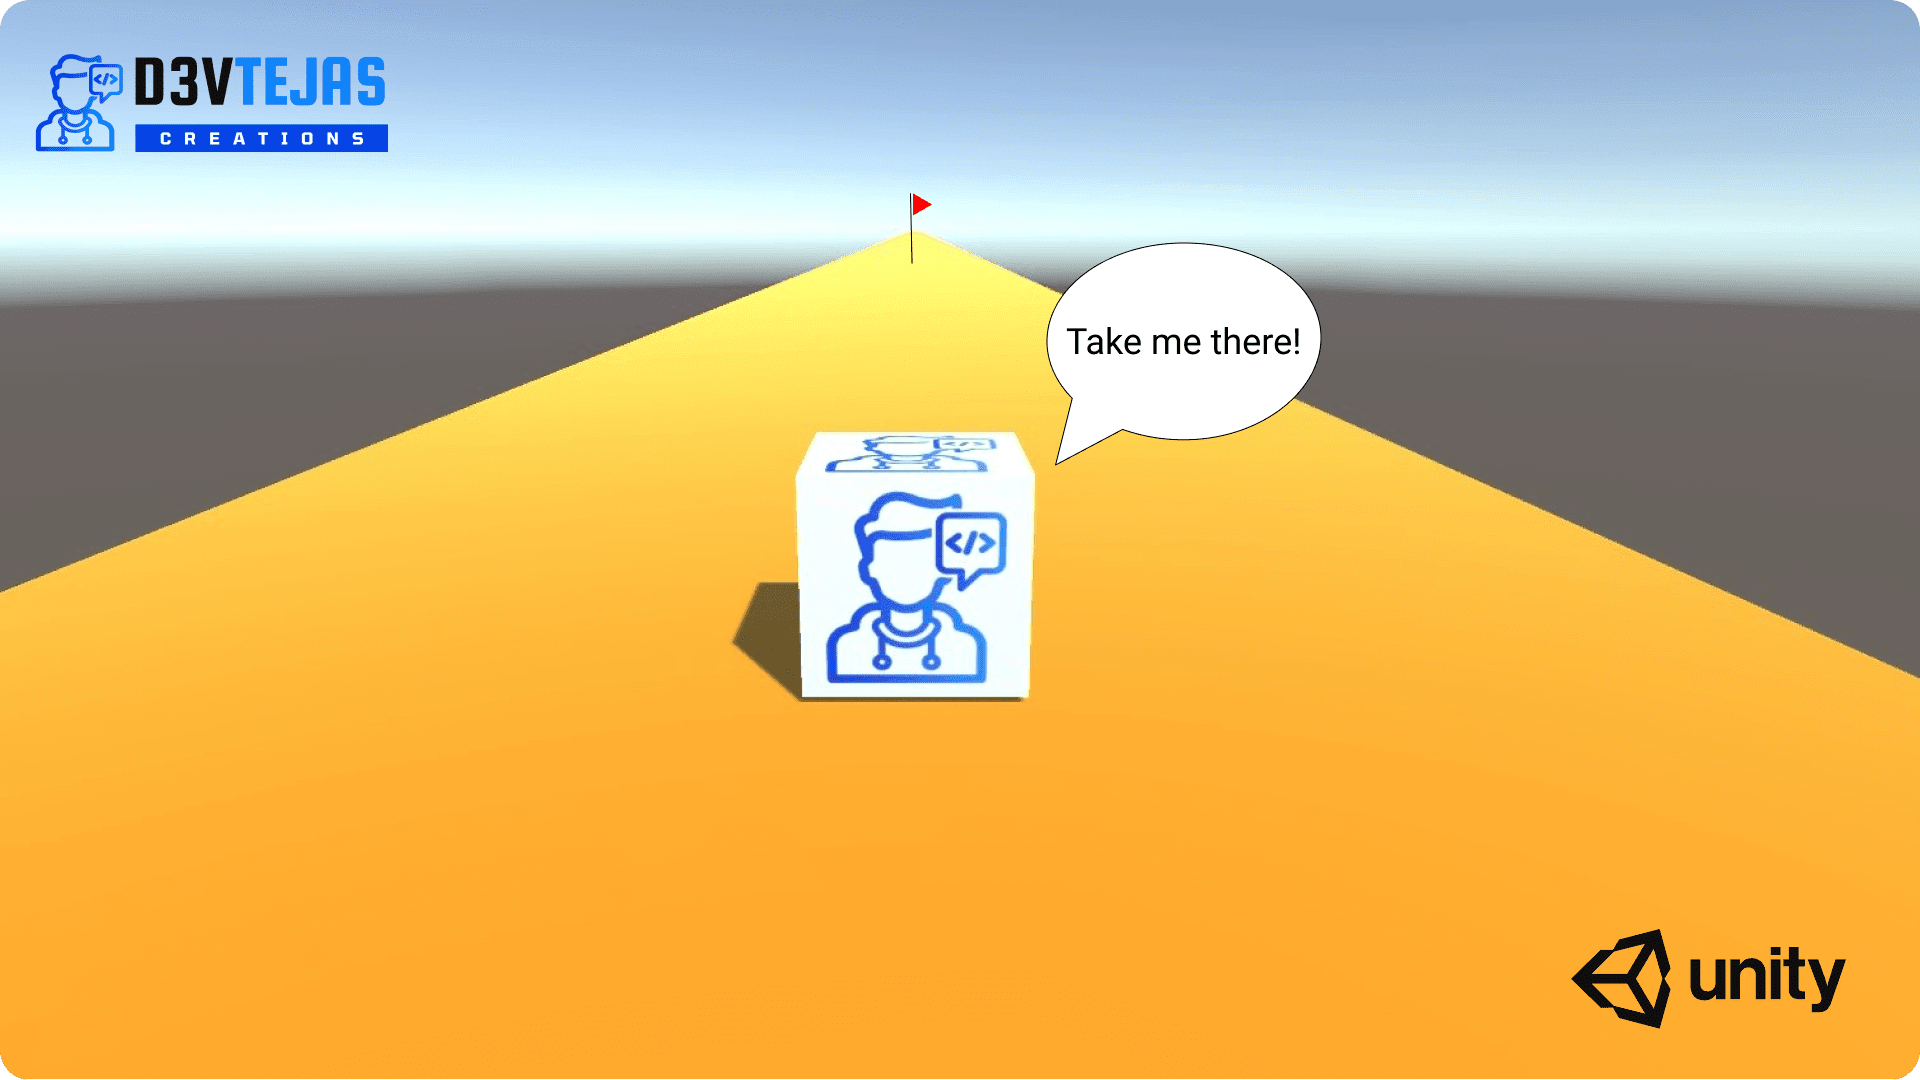
Table of Contents
Introduction
Nowadays, game development is a rapidly growing trend. Everyone wants to learn it and make their own games.
There are many reasons why people develop game-like to earn money or for their interest in it and with this they show the world how creative they are.
What is Unity?
So unity is a game engine that supports many types of games, like 2D, 3D, AR and VR for many platforms like Android, iOS, Windows, Mac, Linux, ps5 and much more. This means it's a build once run anywhere type(Which we used to say about java).
Unity has its own feature-rich visual editor and it supports C# and javascript(or specifically Typescript) for coding the behaviour of the objects in the game.
So here I am going to use C# because it's the most preferred language for unity.
The editor UI of unity looks something like given in the image below.

The Code
Now let's see one by one how to move the player, here we are going to take a cube as the player and how to make the camera follow him.
Moving the Player
Moving a player in unity is not a thought task and can be done in various ways. Here I'm going to tell you a simple way to achieve it. A not too coding and not too boring way.
First, we have some work to do in the visual editor before coding. Just follow the steps given below and it's done.
- Click on your player or create a new 3d cube. (right-click in the hierarchy and go to 3d object then click on the cube and now you can see a cube in the view panel and as well as in the hierarchy).
- Now after clicking on the player you can see his properties and components in the inspector. generally on the left side of the screen if you are using the default layout.
- Now scroll down in the inspector and you can see an Add component button at the bottom click on it and search for rigidbody.
- You will see two options, the second with a 2D tag. We need the first one (only Rigidbody).
- Click on it and you are done.
- This will add a new component in the inspector for the player.
Rigidbody is the component that allows our game objects like players to react to real-time physics. This means the player will react to forces, gravity, mass, drag and momentum etc.
Double click the movePlayer.cs and it will open it in a code editor selected by you in the preferences. Mostly we use the visual studio or visual studio code.
Now add the following code to it.
movePlayer.cs
using UnityEngine;

public class movePlayer : MonoBehaviour
{

    public Rigidbody rb;
    public float forwardForce = 2000f;
    public float sideForce = 500f;
    // Update is called once per frame
    void Update()
    {
        rb.AddForce(0, 0, forwardForce * Time.deltaTime);

        if (Input.GetKey("a")){
            rb.AddForce(-sideForce * Time.deltaTime, 0, 0);
        }

        if (Input.GetKey("d")){
            rb.AddForce(sideForce * Time.deltaTime, 0, 0);
        }

        if (Input.GetKey("s")){
            rb.AddForce(0, 0, -forwardForce * Time.deltaTime);
        }
    }
}
In the above code, I made a script that makes the cube move when we press the keys A, S and D. A for left, S for back and D for right. To move a game object which has the component Rigidbody we use the rb.AddForce(x, y, z) method and provided the values of x, y and z with a float value.
If you only want to move an object from one place to another you can use the transform.translate method.
Now save your script and go to unity editor and drag your player in the Rigidbody variable in the movePlayer script.
You can also change the values for forward or sideforces from the editor because both of them are set to public in the script.
Make the Camera follow Player
There are three methods you can use to achieve this. We will see them one by one.
Method 1: The simplest and easiest method. Just make the camera a child element of the player and you are done. Do as shown in the image below.
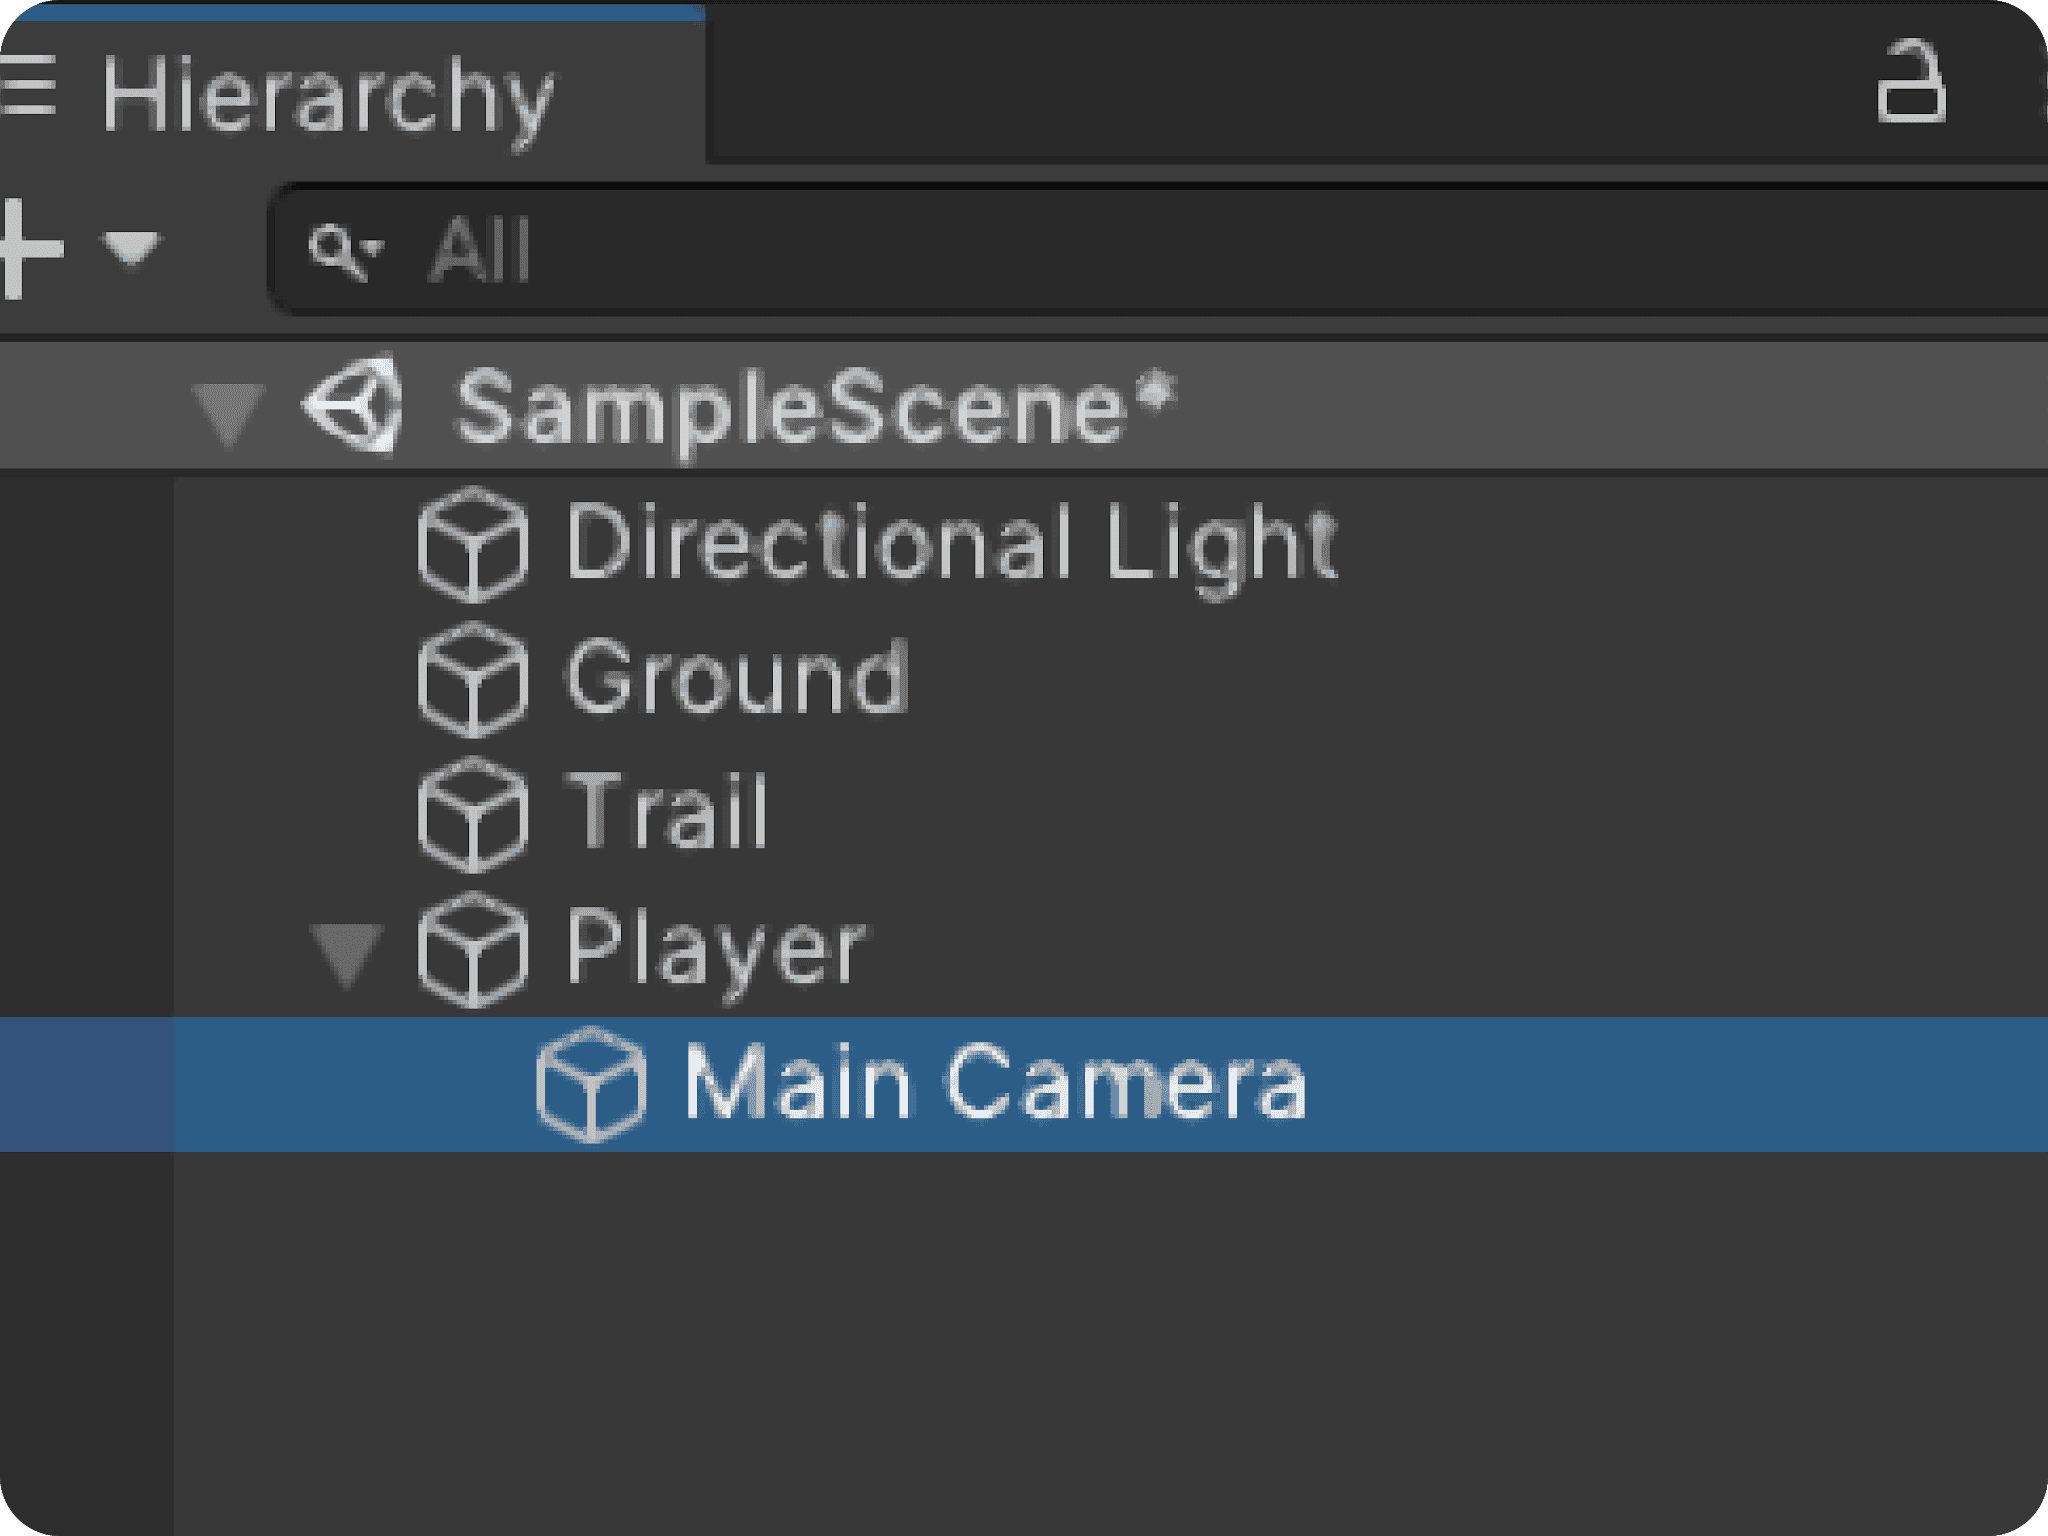
But there is a problem with this method. Our camera also rotates with the player so this will seem a bit confusing to the gamers playing your game.
Method 2: The next simple method. Unity has its own assets store where many creators put their creations for free or for a little price. Just go there and find a prefab for the camera. This will work for you if you are lazy and don't want to code a script for this simple task.
The above method is great and you can find many prefabs not just the camera from the Standard assets Pack available on unity assets store for free. Go grab it!
Method 3: This is an easy and reliable method but not better than the second one because those assets are made by professionals and we are noobs😅.
But want to try and learn something so follow this.
Now make a script for the camera with add component and name it anything you want(I am using followPlayer).
Now copy the code given below and read the explanation.
followPlayer.cs
using UnityEngine;

public class followPlayer : MonoBehaviour
{
    public Transform player;
    public Vector3 offset;

    // Update is called once per frame
    void Update()
    {
        transform.position = player.position - offset;
    }
}
Here in the above code, we declare two public variables, one for the player and another for the offset or camera position. In the update method, we change the camera position to the result obtained by subtracting the offset from the player's position.
Now similar to the above code for moving player, drag the player(from hierarchy) in the transform slot present in the followPlayer component of the camera in the inspector.
You can change the offset value and try with different values to get the best view of the object.
Wrapping Up
Now you know how to move an object in unity and how to make the camera follow him. This makes you a professional game developer. Congrats!. Not really. Game development has many things to learn and needs practice same as in other fields. So keep practising devs. Read these extra tips to improve this code and don't forget to share your codes and ideas in the comments.
Tips
- You can try to add jumping movement to the player.
- Try making the camera follow the player and rotate only horizontally as the player rotates.
- You can try the assets from the unity assets store they are too cool. Just try some tweaks with them.
- Follow me on Instagram and support me on buy me a coffee.
See you next weekend! 👋.

Join the conversation